Umami Analytics: Privacy-Focused Self-Hosted Analytics Guide (2026)
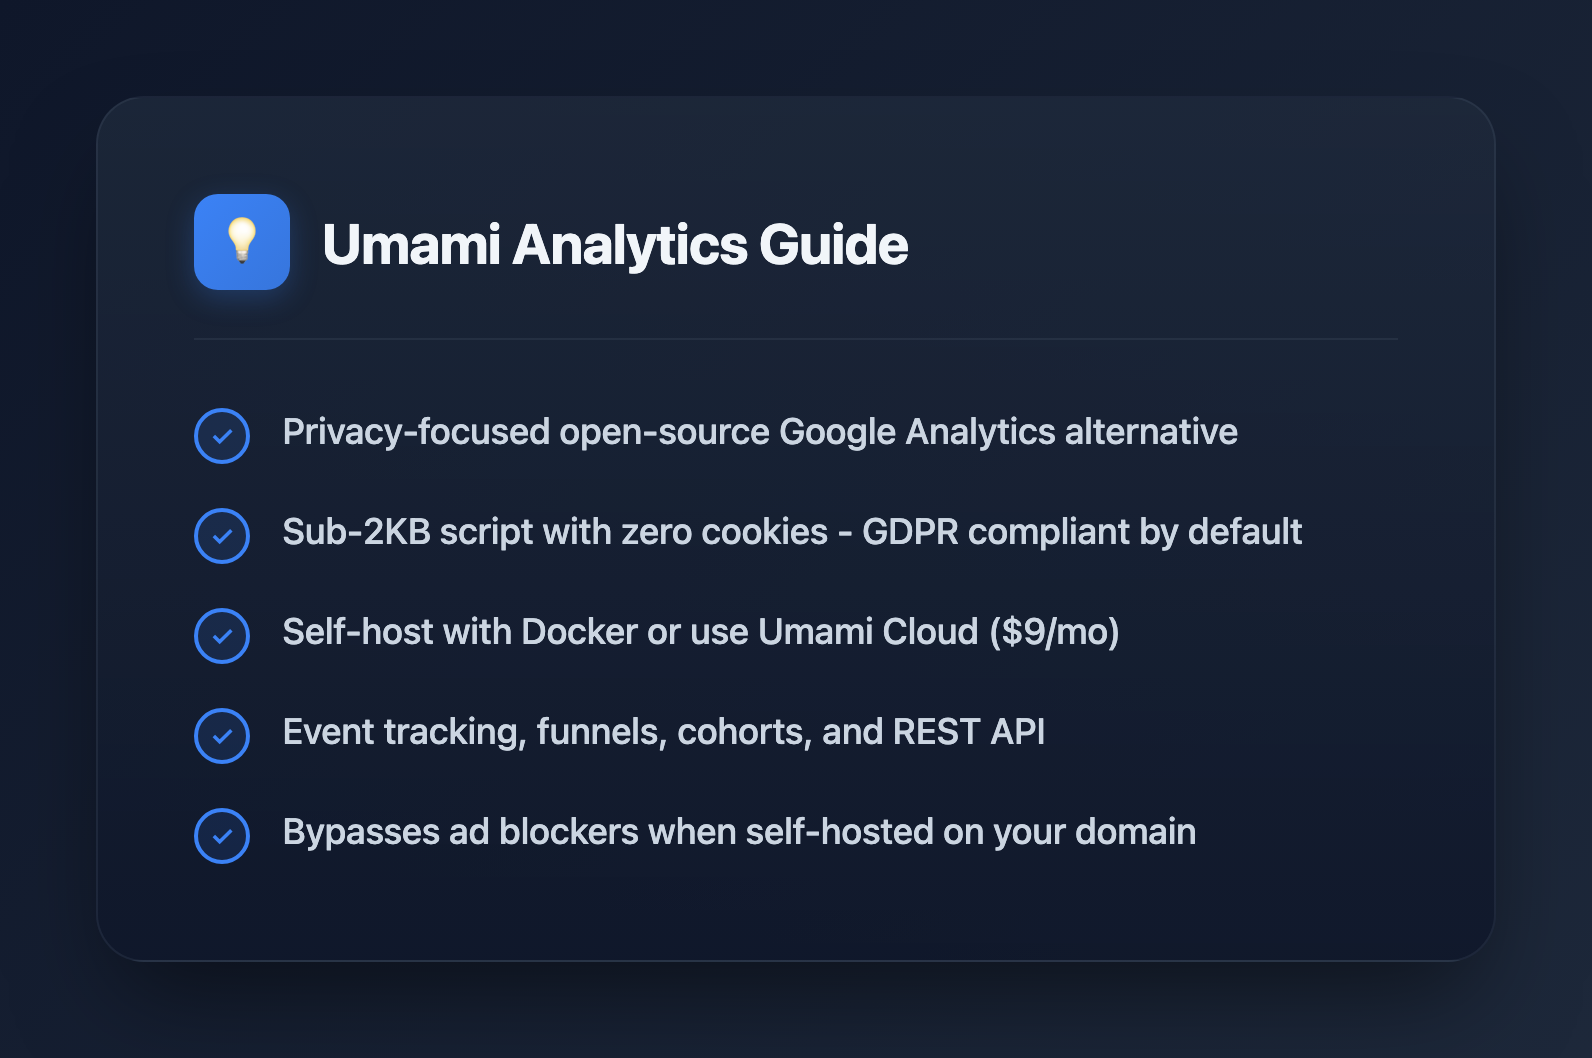
Umami is a privacy-focused, open-source web analytics platform that provides a clean alternative to Google Analytics. With a sub-2KB tracking script, GDPR compliance out of the box, and full data ownership, Umami has become the go-to choice for developers who want insights without the complexity or privacy concerns of traditional analytics.
Why Umami Over Google Analytics?
Google Analytics 4 (GA4) is powerful but comes with significant trade-offs that make many developers look for alternatives:
| Factor | Google Analytics 4 | Umami |
|---|---|---|
| Privacy | Collects PII, requires consent banners | No cookies, no PII, GDPR-compliant by default |
| Script size | ~45KB | ~2KB |
| Learning curve | Steep (completely redesigned from UA) | Minimal, intuitive dashboard |
| Data ownership | Google's servers, their terms | Your server, your data |
| Cost | Free but you are the product | Free (self-hosted) or $9/mo (cloud) |
| Ad blockers | Blocked by most | Works with self-hosted domain |
When to Choose Umami
- You want simplicity: Page views, referrers, devices—the essentials without drowning in data
- Privacy matters: No cookie banners, no consent management complexity
- Performance matters: 2KB script vs 45KB has real impact on Core Web Vitals
- You want data ownership: Self-host and keep everything under your control
- Developer-focused sites: Technical audiences often block GA anyway
When GA4 Might Be Better
- Deep integration with Google Ads is required
- You need advanced attribution modeling
- Enterprise support is a requirement
- You're already heavily invested in the Google ecosystem
Umami v3 Features
Umami v3 (released November 2025) brought significant improvements:
Core Analytics
Dashboard metrics:
├── Visitors (unique)
├── Page views (total)
├── Bounce rate
├── Session duration (average)
├── Pages per session
└── Real-time visitors

Traffic sources:
├── Referrers
├── UTM parameters (source, medium, campaign)
├── Direct traffic
└── Social platforms

Technical breakdown:
├── Browsers
├── Operating systems
├── Devices (desktop/mobile/tablet)
├── Screen sizes
└── Countries/regions
Event Tracking
Track custom interactions beyond page views:
<!-- Using data attributes (no JavaScript required) -->
<button data-umami-event="signup-click">Sign Up</button>

<button data-umami-event="download" data-umami-event-file="whitepaper.pdf">
  Download PDF
</button>

<!-- Using JavaScript for dynamic events -->
<script>
// Track when user completes checkout
function completeCheckout(orderId, total) {
  umami.track('checkout-complete', {
    orderId: orderId,
    total: total,
    currency: 'USD'
  });
}

// Track scroll depth
let maxScroll = 0;
window.addEventListener('scroll', () => {
  const scrollPercent = Math.round(
    (window.scrollY / (document.body.scrollHeight - window.innerHeight)) * 100
  );
  if (scrollPercent > maxScroll && scrollPercent % 25 === 0) {
    maxScroll = scrollPercent;
    umami.track('scroll-depth', { depth: scrollPercent });
  }
});
</script>
Funnels (v3)
Track conversion paths through your site:
Example funnel: E-commerce checkout

Step 1: /products (viewed products)
    ↓ 65% continue
Step 2: /cart (added to cart)
    ↓ 48% continue
Step 3: /checkout (started checkout)
    ↓ 72% continue
Step 4: /confirmation (completed purchase)

Overall conversion: 22.5%
Biggest drop-off: Cart → Checkout (investigate friction)
Cohorts and Segmentation (v3)
Group users by behavior or attributes for deeper analysis:
Cohort examples:

By acquisition:
- Users from organic search
- Users from social media
- Users from email campaigns

By behavior:
- Signed up in last 30 days
- Completed >3 sessions
- Visited pricing page

Compare cohort retention over time to identify
which acquisition channels bring quality traffic.
Self-Hosting with Docker
The easiest way to deploy Umami is with Docker Compose.
Requirements
- Server with Docker and Docker Compose
- PostgreSQL 12+ (v3 dropped MySQL support)
- Domain with SSL (use Caddy, nginx, or Cloudflare tunnel)
Docker Compose Setup
# docker-compose.yml
version: '3'
services:
  umami:
    image: ghcr.io/umami-software/umami:postgresql-latest
    ports:
      - "3000:3000"
    environment:
      DATABASE_URL: postgresql://umami:${POSTGRES_PASSWORD}@db:5432/umami
      DATABASE_TYPE: postgresql
      APP_SECRET: ${APP_SECRET}
    depends_on:
      db:
        condition: service_healthy
    restart: unless-stopped

  db:
    image: postgres:15-alpine
    environment:
      POSTGRES_DB: umami
      POSTGRES_USER: umami
      POSTGRES_PASSWORD: ${POSTGRES_PASSWORD}
    volumes:
      - umami-db:/var/lib/postgresql/data
    healthcheck:
      test: ["CMD-SHELL", "pg_isready -U umami"]
      interval: 5s
      timeout: 5s
      retries: 5
    restart: unless-stopped

volumes:
  umami-db:
Environment Variables
# .env file
POSTGRES_PASSWORD=your-secure-db-password

# Generate with: openssl rand -base64 32
APP_SECRET=your-random-secret-key-here
Deployment Steps
# 1. Create directory and files
mkdir umami && cd umami
# Create docker-compose.yml and .env as shown above

# 2. Generate app secret
echo "APP_SECRET=$(openssl rand -base64 32)" >> .env

# 3. Start services
docker compose up -d

# 4. Check logs
docker compose logs -f umami

# 5. Access at http://localhost:3000
# Default login: admin / umami
# CHANGE THIS IMMEDIATELY
Reverse Proxy with Caddy
# Caddyfile
analytics.yourdomain.com {
    reverse_proxy localhost:3000
}

# Caddy automatically handles SSL certificates via Let's Encrypt
Adding Tracking to Your Site
Get Your Tracking Code
- Log into Umami dashboard
- Go to Settings → Websites → Add website
- Enter your domain
- Copy the tracking code
Basic Installation
<!-- Add before closing </head> tag -->
<script
  defer
  src="https://analytics.yourdomain.com/script.js"
  data-website-id="your-website-id"
></script>
Next.js Integration
// app/layout.tsx (App Router)
import Script from 'next/script';

export default function RootLayout({ children }: { children: React.ReactNode }) {
  return (
    <html lang="en">
      <head>
        <Script
          src="https://analytics.yourdomain.com/script.js"
          data-website-id="your-website-id"
          strategy="afterInteractive"
        />
      </head>
      <body>{children}</body>
    </html>
  );
}
React SPA Tracking
// For SPAs, track route changes manually
import { useEffect } from 'react';
import { useLocation } from 'react-router-dom';

function usePageTracking() {
  const location = useLocation();

  useEffect(() => {
    // Umami tracks page views automatically on script load
    // For SPAs, manually track route changes
    if (typeof window !== 'undefined' && window.umami) {
      window.umami.track(props => ({
        ...props,
        url: location.pathname
      }));
    }
  }, [location]);
}

// Use in your App component
function App() {
  usePageTracking();
  return <Routes>{/* ... */}</Routes>;
}
Umami REST API
Umami provides a REST API for programmatic access to your analytics data.
Authentication
// Get auth token
async function getUmamiToken(username: string, password: string): Promise<string> {
  const response = await fetch('https://analytics.yourdomain.com/api/auth/login', {
    method: 'POST',
    headers: { 'Content-Type': 'application/json' },
    body: JSON.stringify({ username, password })
  });

  const { token } = await response.json();
  return token;
}

// Use token in subsequent requests
const headers = {
  'Authorization': `Bearer ${token}`,
  'Content-Type': 'application/json'
};
Fetching Analytics Data
interface PageviewStats {
  pageviews: { value: number; change: number };
  visitors: { value: number; change: number };
  bounces: { value: number; change: number };
  totalTime: { value: number; change: number };
}

async function getWebsiteStats(
  websiteId: string,
  startAt: number,
  endAt: number
): Promise<PageviewStats> {
  const params = new URLSearchParams({
    startAt: startAt.toString(),
    endAt: endAt.toString()
  });

  const response = await fetch(
    `https://analytics.yourdomain.com/api/websites/${websiteId}/stats?${params}`,
    { headers }
  );

  return response.json();
}

// Get last 7 days of stats
const now = Date.now();
const weekAgo = now - 7 * 24 * 60 * 60 * 1000;
const stats = await getWebsiteStats('your-website-id', weekAgo, now);
Building a Custom Dashboard
// Fetch multiple metrics for a custom dashboard
async function getDashboardData(websiteId: string) {
  const now = Date.now();
  const dayAgo = now - 24 * 60 * 60 * 1000;
  const weekAgo = now - 7 * 24 * 60 * 60 * 1000;

  const [todayStats, weekStats, topPages, referrers] = await Promise.all([
    getWebsiteStats(websiteId, dayAgo, now),
    getWebsiteStats(websiteId, weekAgo, now),
    getTopPages(websiteId, weekAgo, now),
    getReferrers(websiteId, weekAgo, now)
  ]);

  return {
    today: todayStats,
    week: weekStats,
    topPages,
    referrers
  };
}

async function getTopPages(websiteId: string, startAt: number, endAt: number) {
  const response = await fetch(
    `https://analytics.yourdomain.com/api/websites/${websiteId}/metrics?` +
    `startAt=${startAt}&endAt=${endAt}&type=url`,
    { headers }
  );
  return response.json();
}
Bypassing Ad Blockers
When self-hosting, you can configure Umami to bypass ad blockers that target analytics scripts.
Strategy 1: Custom Script Path
# nginx configuration
location /stats/script.js {
    proxy_pass http://localhost:3000/script.js;
    proxy_set_header Host $host;
}

location /stats/api {
    proxy_pass http://localhost:3000/api;
    proxy_set_header Host $host;
}
<!-- Use your custom path -->
<script defer src="/stats/script.js" data-website-id="xxx"></script>Strategy 2: First-Party Subdomain
Host Umami on a subdomain of your main site (e.g., data.yoursite.com for yoursite.com). Most ad blockers only target known analytics domains.
Umami Cloud vs Self-Hosted
| Factor | Umami Cloud | Self-Hosted |
|---|---|---|
| Setup time | 5 minutes | 30-60 minutes |
| Maintenance | None (managed) | Updates, backups, monitoring |
| Cost (100k events/mo) | $9/month | ~$5/month VPS |
| Data location | Umami's servers | Your infrastructure |
| Customization | Limited | Full control |
| Ad blocker bypass | Limited | Full control |
Recommendation: Start with Umami Cloud if you want to evaluate quickly. Migrate to self-hosted when you need more control or want to reduce costs at scale.
Migration from Google Analytics
Switching from GA4 to Umami is straightforward since they're additive—you can run both during transition.
Migration Steps
- Deploy Umami alongside existing GA4
- Run parallel tracking for 2-4 weeks to compare data
- Set up event tracking to match your GA4 events
- Create dashboards that replicate your key GA4 reports
- Remove GA4 once confident in Umami data
What You'll Lose
- Historical GA data (export before removing)
- Google Ads integration
- Advanced attribution models
- Predictive metrics
What You'll Gain
- Faster site (smaller script)
- No consent banners needed
- Full data ownership
- Cleaner, simpler interface
- More accurate data (less blocking)
Umami provides the essential analytics most sites actually need without the complexity and privacy concerns of enterprise solutions. For developers and privacy-conscious site owners, it's often the right choice.